Print files
Why Your Print Looks Soft: 72 DPI vs 300 DPI Explained
72 DPI is a screen default. 300 DPI is the print standard. A soft poster is almost always too few pixels, not a bad printer — and changing the DPI header alone never fixes it.
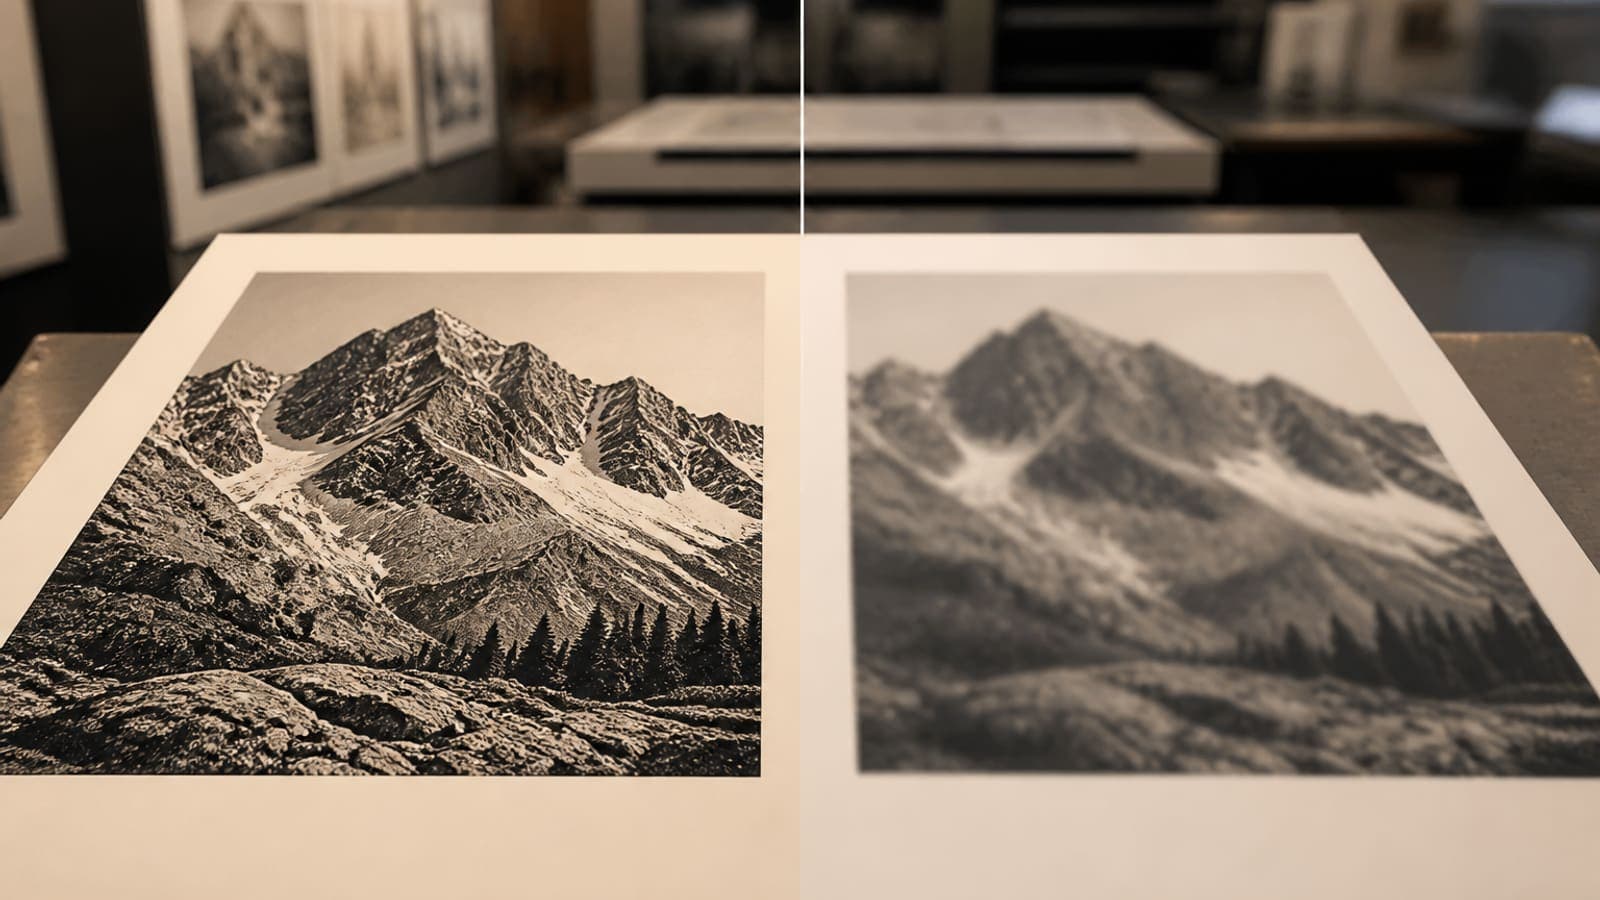
Direct answer
A print looks soft when there aren't enough pixels for the inches you ordered. 300 DPI means 300 pixels per inch; 72 DPI is the old screen default that many cameras still write into JPEG headers. Changing 72 to 300 without resampling doesn't add any detail — a 1200-pixel-wide image is 4 inches wide at true 300 DPI and 16.6 inches wide at 72 DPI. Same pixels, different inch math, only one of them is honest.
Refund messages say “blurry,” “pixelated,” or “not as sharp as the mockup.” But the mockup was a crop viewed on a retina phone screen, and the order was an 18×24 poster. Those are two completely different jobs, and comparing them is where the disappointment comes from.
Shop spec sheets tend to use DPI (dots per inch, a printer term) and PPI (pixels per inch, a file term) interchangeably. For export purposes, just treat 300 PPI as 300 DPI — the printer is imaging from pixels either way.
The header vs the pixels
Two files can both be 2400×3000 pixels. One tagged 72 DPI “looks like” 33×41 inches in some apps. One tagged 300 DPI looks like 8×10. The printer still uses 2400×3000 pixels. Confused shops still bounce the 72 file because their preflight script reads the tag.
Fix both: enough pixels for the inches you sell, and a 300 DPI tag in JPEG EXIF/JFIF, PNG pHYs, or WebP where possible. Resize to 300 DPI for Etsy is the production checklist.
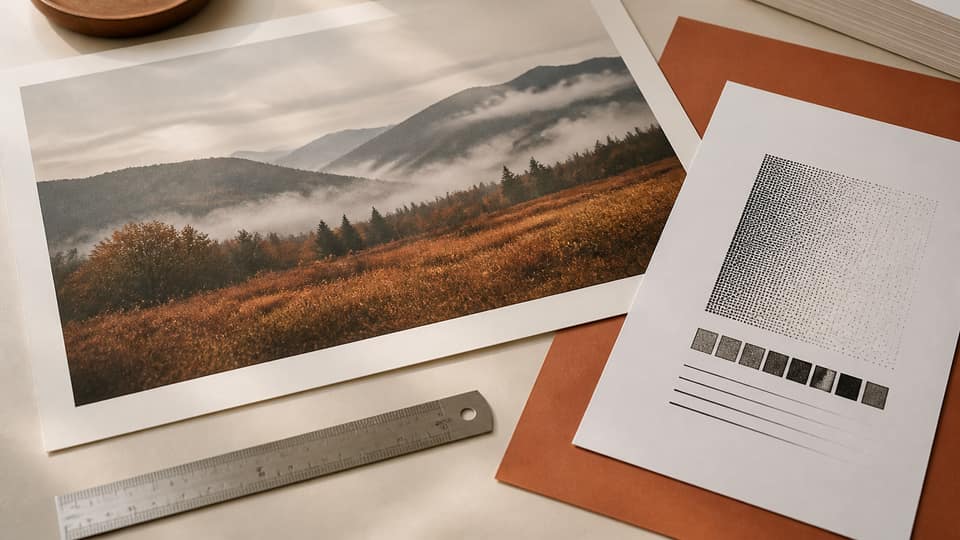
72 PPI label
Screen default. Fine on a phone. Too few dots per inch for a handheld print.
300 PPI print
Print default. Only sharp if the pixel count already matches the inches.
| DPI tag | App-reported inches | Actual print quality at 8×10 |
|---|---|---|
| 72 DPI | 33.3 × 41.7 in | Excellent pixels; some shops reject the tag |
| 300 DPI | 8 × 10 in | Correct label and correct pixels |
| 150 DPI | 16 × 20 in | Would be soft if you actually printed 16×20 from this file |
You cannot invent detail
Upscaling a 800-pixel Instagram download to 5400 pixels does not recover pores, brushstrokes, or type. Generative “enhance” tools hallucinate texture that looks worse on paper than a slightly smaller honest print.
Export from the largest original you have, crop, then downscale to the print pixel size. Do not upscale a thumbnail and hope. If the original cannot hit 300 DPI at the listed size, sell a smaller size or a digital download with a clear inch limit.
Other reasons a print looks soft
Soft focus in the camera, camera shake, heavy noise reduction, and over-sharpening halos all survive a perfect 300 DPI export. Sharpen for print after you resize, not before — oversharpened 4:3 crops look crunchy when you then crop to 4:5.
Paper and viewing distance matter. A 24×36 viewed from six feet can look fine at 150–200 DPI. An 8×10 held in the hand cannot. Match DPI to how the buyer will stand.
Color conversions to CMYK can also look “muddy,” which people describe as soft. That is a profile issue, not DPI. Ask the shop whether they want sRGB JPEG (most POD) or a CMYK TIFF.
A quick preflight before you upload
Divide pixel width by 300. That is the maximum sharp width in inches. If the listing is wider than that number, you are asking the printer to invent pixels.
Open Reopic to crop and export with a 300 DPI stamp from the browser. Compare the exported pixel dimensions to 8×10 and A4 tables before you list the size.
How to talk about DPI in an Etsy listing
Buyers search “300 DPI” because they have been burned. State the maximum print size at 300 DPI in the description for digital downloads (pixel width ÷ 300). For physical prints, state the paper size and that the production file matches that size at 300 DPI — do not paste a fake “high resolution 300 DPI” badge on a 1500-pixel file.
If a customer sends a screenshot of Photoshop saying 72 DPI, explain that the header can lie. Show them Image Size with resample off: 2400×3000 at 72 is the same pixels as 8×10 at 300. Then send a re-export with the 300 tag so their shop’s preflight passes.
When 150 DPI is actually correct
Large fabric, some all-over print files, and wall murals viewed from several feet may be specified at 150 DPI. That is not an excuse to send a 150 DPI 8×10 portrait held in the hand. Follow the SKU. Mixing a 150 DPI fabric file into a paper poster SKU is how “the hoodie looked fine but the poster is mush” tickets start.
If you are unsure, ask the partner: “What pixel dimensions do you want for this product ID?” Pixels beat DPI arguments. Then export that box from a crop that still contains the subject.
FAQ: 72 DPI vs 300 DPI
Is 72 DPI bad for print?+
As an actual pixel density, yes — 72 DPI is far too low for a handheld print. But as a leftover JPEG header on a 2400×3000 file, it's only a labeling problem: the pixels underneath may already be enough for a sharp 8×10.
Does changing DPI in Photoshop increase quality?+
Only if you also add pixels by resampling up, and that interpolates new pixels rather than creating real detail. A larger original or a smaller print size will always look better.
What DPI should I use for Etsy prints?+
300 DPI for paper art prints and posters, unless the print partner's template specifically calls for 150 DPI, which is common for some fabrics.
Why does my 300 DPI file still look soft?+
A few possibilities: the crop still has too few pixels for the inches, the original was out of focus, or you upscaled at some point. Check pixel width ÷ 300 against the listing width to confirm.
Is PPI the same as DPI for my file?+
For practical export purposes, yes — shop spec sheets want 300 pixels per inch in the file. DPI technically refers to how the press lays down ink dots. Export at 300 PPI with the correct pixel count and you're covered either way.