Print files
8x10 Print Size in Pixels at 300 DPI (And How to Export It)
An 8×10 print at 300 DPI is 2400×3000 pixels (portrait) or 3000×2400 (landscape). Crop to 4:5 first, resize, then stamp 300 DPI so shops don't reject a mislabeled 72 DPI header.
Direct answer
An 8×10 inch print at 300 DPI is 2400×3000 pixels in portrait, or 3000×2400 in landscape — that's simply 8 × 300 and 10 × 300. Crop the photo to a 4:5 aspect ratio around the subject first, scale that crop to those exact pixels, then save with a 300 DPI tag. A smaller file gets upscaled by the printer and comes out soft.
8×10 is the default frame size in US big-box stores and one of the most-searched print sizes on Etsy — which also makes it one of the most commonly exported wrong. Sellers either send a 4:3 phone crop with white borders, or a 72 DPI JPEG that's only 8×10 inches according to the metadata, not the actual pixels.
The pixel count isn't negotiable. If the shop's RIP expects 2400×3000 and you upload 1600×2000, you've effectively handed them a 200 DPI file. They might print it anyway — but buyers will still call it blurry.
- 1
Confirm the original is large enough
After a 4:5 crop you still need at least 2400 pixels on the short side.
- 2
Crop to 4:5 around the subject
Do not use a center crop if the subject is off-center.
- 3
Set image size to 2400×3000
Use 3000×2400 for landscape 10×8.
- 4
Save with 300 DPI
JPG at high quality, PNG for graphics, sRGB unless specified.
The exact pixel numbers for 8×10
Portrait 8×10: 2400 pixels wide × 3000 pixels tall. Landscape 10×8: 3000 × 2400. Square 8×8 is 2400×2400 and is a different SKU — do not pad an 8×10 into a square with white bars unless the listing says matted.
At 150 DPI (some fabrics) the same 8×10 is 1200×1500. Do not mix those templates. Paper prints for Etsy should stay at 300 unless the partner’s file guide says 150.
Need ISO paper instead? A4 at 300 DPI is 2480×3508, which is not 8×10. Do not stretch one into the other.
| Orientation | Inches | Pixels | Aspect ratio |
|---|---|---|---|
| Portrait | 8 × 10 | 2400 × 3000 | 4:5 |
| Landscape | 10 × 8 | 3000 × 2400 | 5:4 |
| With 0.125 in bleed each side | 8.25 × 10.25 | 2475 × 3075 | still ~4:5 |
Why Photoshop shows 72 DPI on a correct 8×10
Many cameras and phone exports default to a 72 DPI tag. Open a 2400×3000 JPEG and some apps will report it as 33.3 × 41.7 inches at 72 DPI — even though it's the exact same pixel count as a properly tagged 8×10 at 300 DPI. A shop that only reads the header, not the pixels, can still bounce a perfectly good file.
The fix: in Image Size, uncheck resample (since the pixels are already 2400×3000) and set 300 pixels/inch, or re-export from a tool that writes 300 DPI directly into JPEG JFIF, PNG pHYs, or WebP. 72 DPI vs 300 DPI walks through the header-versus-pixels trap in more depth.
Crop to 4:5 before you resize
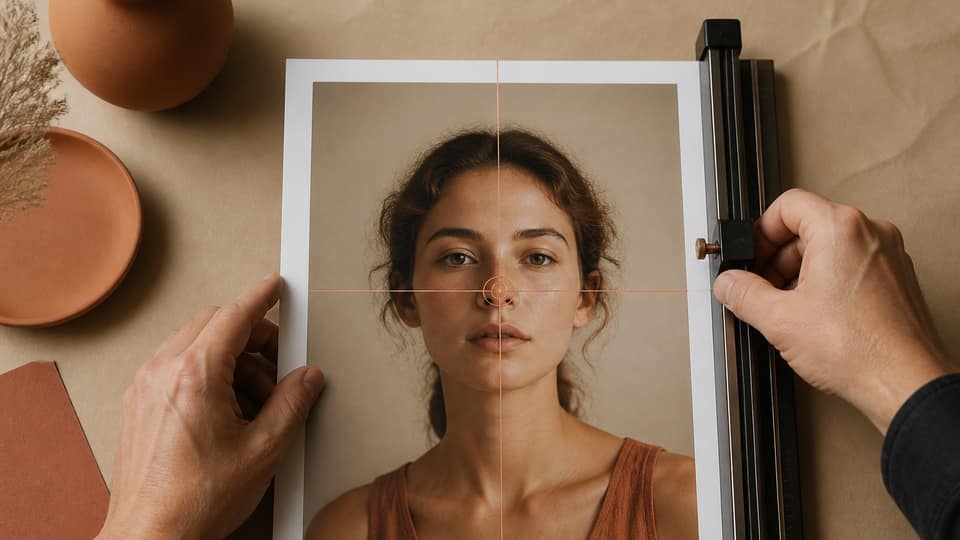
A 4000×3000 camera file is 4:3. An 8×10 print is 4:5. Something has to give — the long side on landscape shots, the short side on portrait phone photos — and a center crop is exactly why hair, feet, and signatures go missing.
Instead, pin the subject first — an eye, a product label, a horizon — then let the 4:5 rectangle grow around that point until it hits the photo's edges. Scale that rectangle to 2400×3000. That's the focal-point method, and it's worth learning once, not re-deriving per listing.
How to export an 8×10 from Reopic
Open Studio, drop the photo, click the focal point, and add a custom ratio of 8 × 10 in (or 10 × 8 for landscape). Hit Export Artwork and the file comes out already tagged at 300 DPI. The free plan allows three custom ratios a day on one image, so you can add 11×14 and 16×20 in the same session while you're at it. Pro ($33 lifetime) removes the daily cap and zips folders per artwork.
Worked example: 4000×3000 camera file to 8×10
A typical phone still is 4000×3000 (4:3). An 8×10 is 4:5. If the photo is landscape, you keep the full 3000-pixel height and crop width to 2400 to make a 4:5 box, then scale to 2400×3000. If the photo is already portrait 3000×4000, you crop height from 4000 to 3750 (3000 × 5/4) and scale that 3000×3750 crop down to 2400×3000.
Where you place the crop matters more than the arithmetic. If the subject sits on the left third, a centered 2400-pixel window will cut them. Pin the subject first, then let the 4:5 window grow. If the pin is so close to an edge that 4:5 cannot fit, that photo cannot honestly fill 8×10 — sell 5×7 or a matte presentation instead of stretching.
After export, open file properties. You want 2400×3000 pixels and 300 pixels per inch. If you see 72, the pixels may still be correct, but some Etsy partners will bounce the header. Re-export from a tool that writes 300 DPI, or set it without resampling when the pixel count is already right.
Mistakes that make 8×10 listings look amateur
Uploading a 4:3 JPEG with white bars so it “fits” 8×10 — buyers paid for a full print, not a matted look you never actually photographed. Crop properly, or offer a matted SKU explicitly if that's the intent.
Reusing an 8×10 file for a 16×20 variation. Same ratio, half the pixels — which means 150 DPI on the bigger paper. Either export a true 4800×6000 from a larger original, or skip offering 16×20 for that photo.
Forgetting landscape entirely. A wide lake scene listed only as 8×10 portrait will crop the shores off. Add 10×8 as a second custom ratio from the same pin so the listing matches how the photo was actually shot.
FAQ: 8x10 print size pixels 300 DPI
How many pixels is an 8x10 at 300 DPI?+
2400×3000 pixels for a portrait 8×10, or 3000×2400 for landscape 10×8.
Is 8x10 the same as 4x5?+
Same aspect ratio (4:5), different inches. 4×5 at 300 DPI is only 1200×1500 pixels — far too small for a quality 8×10 print.
What resolution is 8x10 at 150 DPI?+
1200×1500 pixels. Only use that if the fabric or poster template explicitly calls for 150 DPI.
Can I print 8x10 from a 1080p screenshot?+
Not sharply. 1080 pixels on the short side works out to just 3.6 inches at 300 DPI, so it will look soft stretched across an 8×10. Use a larger original.
Should I add bleed to an 8x10 Etsy print?+
Only if the print partner's template calls for it. A typical 0.125 in per side makes the file 8.25×10.25 in, or 2475×3075 pixels at 300 DPI. Don't guess — check their file guide first.