Print files
How to Resize Photos to 300 DPI for Etsy Print Shops
Learn the exact formula print shops use: convert inches to pixels, crop to the listing ratio, stamp 300 DPI in the file, then export JPG, PNG, or WebP — no upload required.
Direct answer
To resize a photo to 300 DPI for an Etsy print shop, multiply the print width and height in inches by 300 to get pixels, crop the photo to that exact ratio around the subject, then export JPG, PNG, or WebP with 300 DPI written in the file metadata. An 8×10 print needs 2400×3000 pixels. A 12×18 print needs 3600×5400 pixels. Don't upscale a 72 DPI web JPEG and hope the shop will sharpen it — it won't.
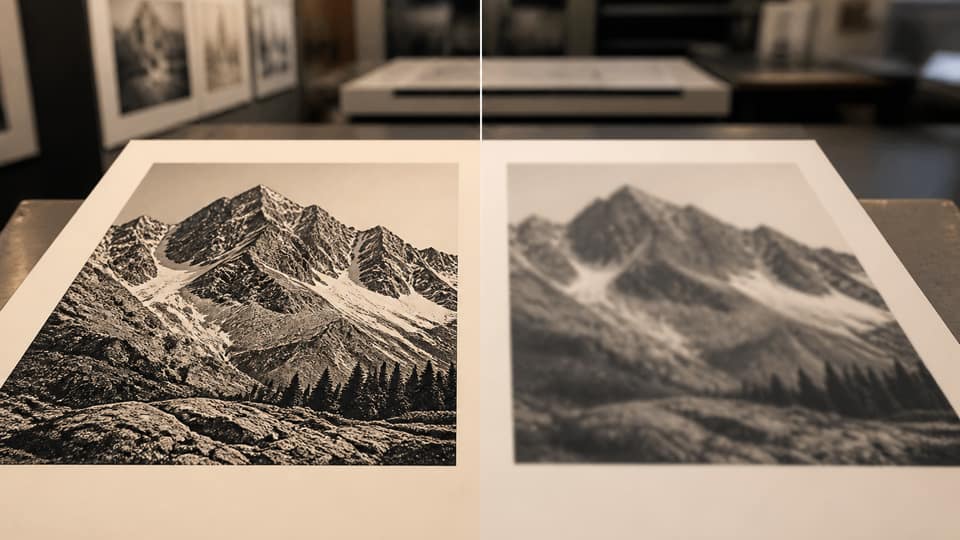
Etsy mockups look sharp on a phone because screens run at roughly 72–144 pixels per inch. The shop that actually puts ink on paper still wants 300 DPI. Send a 1200-pixel-wide JPEG labeled “poster” and the press either upscales it (soft) or shrinks it to fit. That gap between how a photo looks on Instagram and how it prints on paper is where most refund requests start.
DPI isn't a filter you sprinkle on a file after the fact — it's pixels divided by physical inches, full stop. Once you pick the size you're selling, the pixel count is fixed. From there it's a crop, a resize, and an export the RIP software will actually accept.
Below: the pixel formula, the crop problem phone cameras create, the file types print partners take, and a browser-only workflow that never sends your original anywhere.
- 1
Choose the physical print size
Use the inches or millimeters on the listing, not the camera’s aspect ratio.
- 2
Convert inches to pixels
Multiply each side by 300. Example: 8×10 becomes 2400×3000 pixels.
- 3
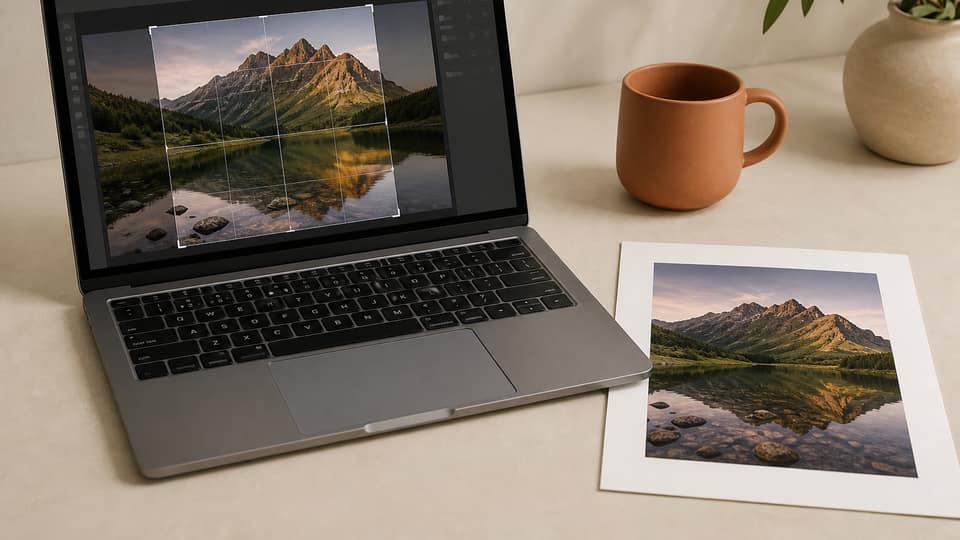
Crop around the subject
Keep the face, product, or signature inside the rectangle. Do not letterbox or stretch.
- 4
Export at 300 DPI
Save JPG, PNG, or WebP with 300 pixels-per-inch metadata in sRGB unless the shop specified otherwise.
Why 300 DPI is the print default
Commercial inkjet and most offset proofs are specified at 300 pixels per inch because that's roughly the density the eye resolves at normal viewing distance on matte and luster paper. Large wall murals, viewed from farther away, can drop to 150 DPI, and so can fabric or all-over prints. For Etsy art prints, posters, and framed paper, default to 300 unless the partner's template says otherwise.
Here's the trap: two files can share the same pixel count and still confuse a shop. Photoshop often writes a 72 DPI header even when the image is 2400×3000 pixels. The printer only cares about pixels, but intake software that scans for “72 DPI” may auto-reject the file anyway. You need both — enough pixels and the right tag.
And you can't invent detail that isn't there. An 800-pixel Instagram download will never become a sharp 24×36. Start from the largest original you have — camera RAW, a full-size phone HEIC, or a scan — then crop, then downscale to the print pixel size.
Start from the size you sell, not the camera
Phone photos are usually 4:3 or 16:9. Popular Etsy frames are 4:5 (8×10), 2:3 (12×18), 11×14, 5×7, or ISO A-sizes — none of which match a phone's native shape. Try to “fit” the whole photo and you get letterboxing. Crop from the center and you cut faces, signatures, and product labels instead.
The fix is to work backward: pick the print size first, crop so the subject survives that frame, then export at (width in inches × 300) by (height in inches × 300). Landscape listings just swap the two numbers. Never stretch a 4:5 crop to fill a 2:3 frame — buyers notice warped faces immediately.
Selling more than one size? Lock one focal point and export each ratio separately from it. How to crop without cutting the subject covers that pin method, and 12×18 vs 16×20 explains why those two listings are genuinely different shapes, not just different inches.
8×10 · 4:5
11×14
12×18 · 2:3
16×20 · 4:5
| Print size | Ratio | Pixels at 300 DPI |
|---|---|---|
| 5 × 7 in | 5:7 | 1500 × 2100 |
| 8 × 10 in | 4:5 | 2400 × 3000 |
| 11 × 14 in | 11:14 | 3300 × 4200 |
| 12 × 16 in | 3:4 | 3600 × 4800 |
| 12 × 18 in | 2:3 | 3600 × 5400 |
| 16 × 20 in | 4:5 | 4800 × 6000 |
| 18 × 24 in | 3:4 | 5400 × 7200 |
| A4 (210 × 297 mm) | ISO A | 2480 × 3508 |
How to resize a photo to 300 DPI in four steps
The workflow is identical whether you're in Photoshop, Lightroom, GIMP, or a browser studio. What changes is how much of it you have to repeat for every SKU.
Step one: confirm the original is large enough. An 8×10 at 300 DPI needs 2400 pixels on the short side after cropping. A 4000×3000 camera file has plenty of room. A 1280×720 screenshot doesn't — that listing can't honestly become a 16×20.
Step two: crop to the listing ratio around the subject, not the geometric center of the photo. Step three: set the image size to the pixel numbers from the table above, resampling only downward, never up. Step four: save with 300 DPI (300 pixels per inch) written into JPEG EXIF/JFIF, PNG pHYs, or the WebP equivalent — in sRGB unless the shop specified Adobe RGB or CMYK.
A faster path than repeating Photoshop for every listing
Doing all four steps by hand for every SKU gets old fast. Open Reopic Studio to do it in the browser instead: drop the photo, click the subject, add the custom ratios you sell, press Export Artwork. Files never leave your device. The free plan covers 1 image and 3 custom ratios a day — plenty to test an 8×10. Pro is $33 lifetime if you batch listings.
Reopic works from custom ratios only — no Instagram 4:5 grid pretending 11×14 is the same shape. Enter inches, centimeters, or millimeters, and export JPG, PNG, or WebP at 300 DPI. Not sure which format to pick? See JPG vs PNG vs WebP for print-on-demand first.
What Etsy actually needs vs what the printer needs
These are two separate jobs with two separate requirements. Etsy hosts the listing photo; the production file goes to you, Printful, Gooten, Prodigi, or a local press. Listing images can be small. Production files can't. Etsy print file requirements breaks down the difference in more detail.
Before you export anything, ask the partner for their color space, bleed, file type, and max megapixel limits. Then export a 300 DPI crop that matches the SKU size — not the mockup size. A 2000-pixel image is fine for marketing. A 16×20 print needs the full 4800×6000.
FAQ: resize photos 300 DPI Etsy
How many pixels is 300 DPI?+
300 DPI means 300 pixels for every inch of paper. Multiply the print width and height in inches by 300 to get the pixel dimensions: 8×10 needs 2400×3000 pixels, 12×18 needs 3600×5400 pixels.
Can I just change 72 DPI to 300 DPI in Photoshop?+
No — unchecking resample and typing 300 only rewrites the header, it doesn't add pixels. A 1200-pixel-wide file is still a 4-inch print at true 300 DPI, no matter what the label says. You need either more pixels or a smaller listing.
What file type should I upload to an Etsy print shop?+
High-quality JPG is the default for photographs. PNG works better for type and flat illustration. WebP is smaller but many print RIPs still reject it, so check the partner's template before you export.
Does Reopic upload my photos?+
No. Cropping and export both run in the browser, so the original file never leaves your device. The free plan covers 1 image and 3 custom ratios a day.
Why does my 8×10 look fine on screen but blurry when printed?+
Screens display at roughly 72–144 pixels per inch, so a soft file can still look sharp on a phone. Paper at 300 DPI has more than twice the density, which exposes any pixel shortfall the screen was hiding.