Print files
How to Batch-Resize Art Prints for Multiple Listing Sizes
One painting, five SKUs. Keep one focal point, export every ratio at 300 DPI, and zip folders per image so your listing files stay organized for Etsy and POD.
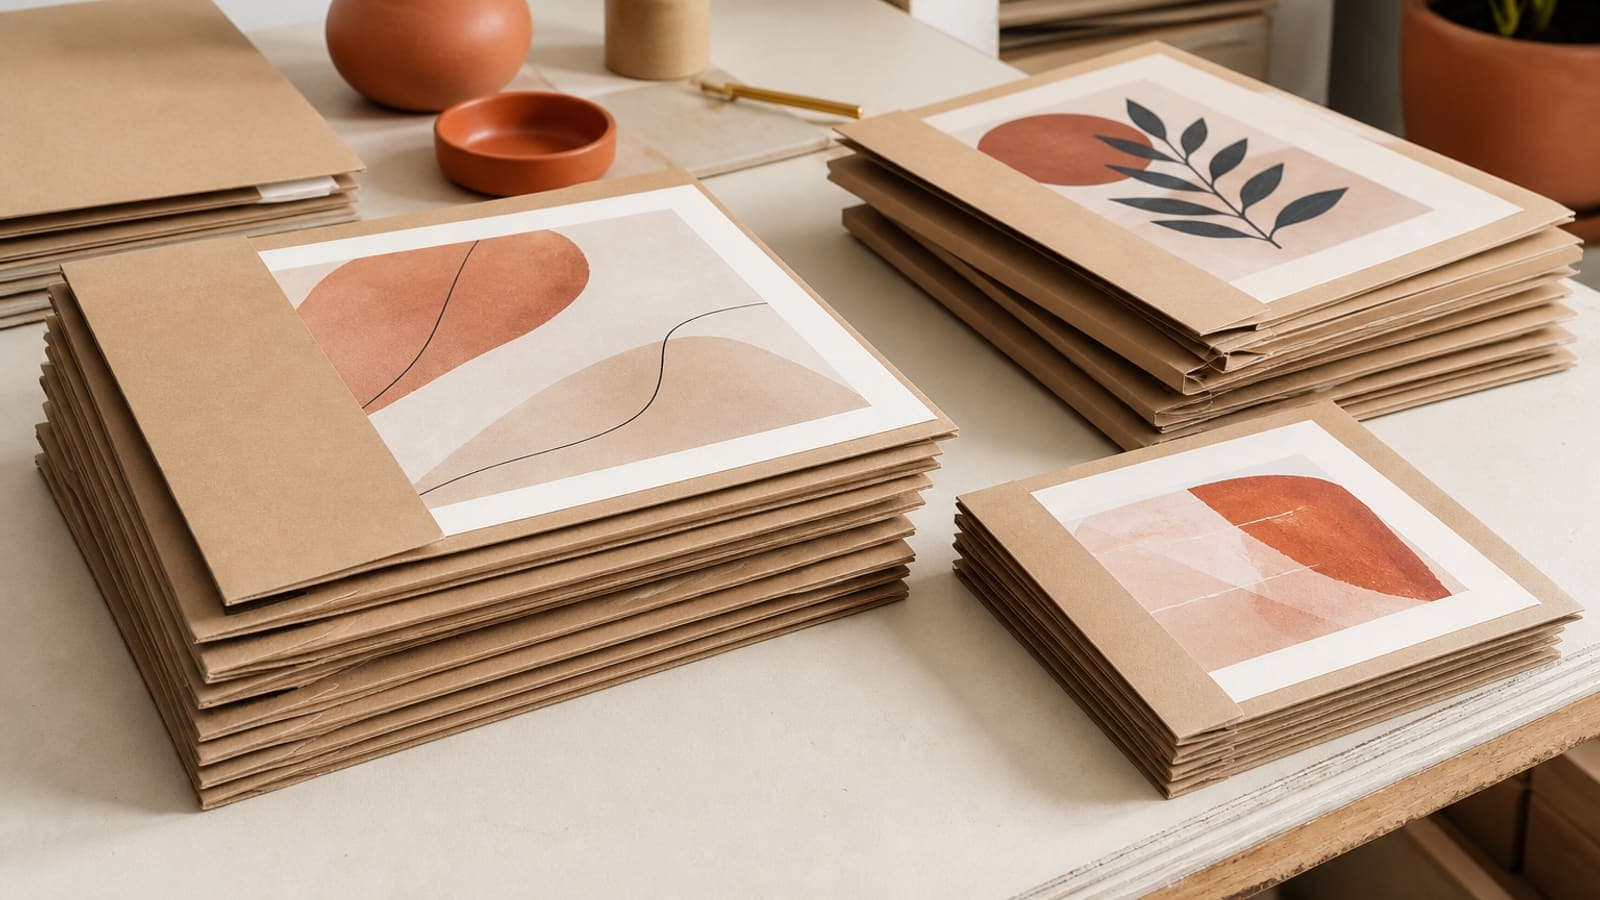
Direct answer
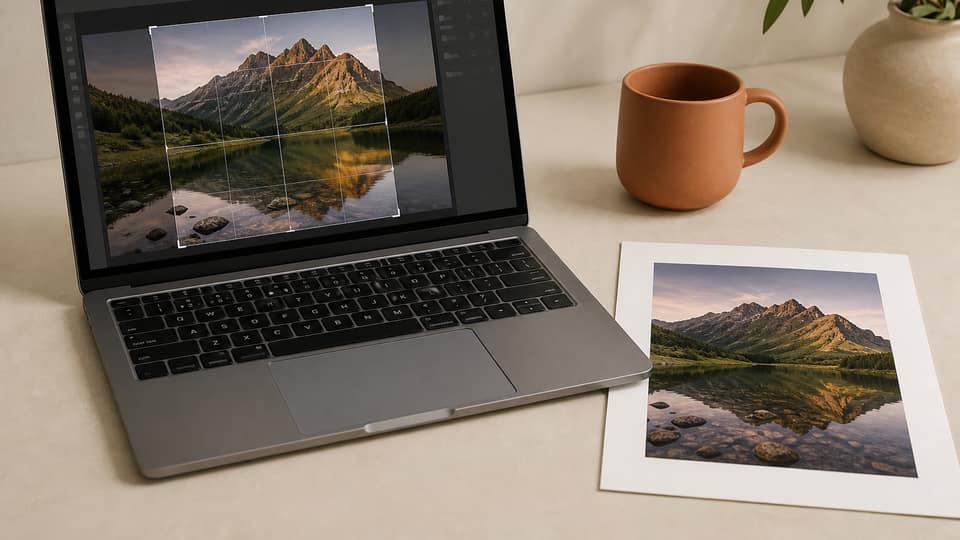
To batch-resize art prints, set one focal point on the original, add every listing size as a custom ratio, and export all of them at 300 DPI in a single pass. Give each artwork its own folder, then a folder per ratio inside it — mountain-lake/8x10in/, for example. Don't reopen Photoshop to repeat the same crop by hand, and don't stretch one JPEG to fit every size in the dropdown.
The real bottleneck isn't clicking Export — it's re-deciding the crop for 8×10, 11×14, 12×18, 16×20, and A4 every single time. That's when assistants start renaming files to keep up, and two 12×18s quietly swap places. Reviews follow shortly after.
A batch workflow that actually holds up rests on three rules: pin the subject once, keep every ratio honest, and organize folders around how you fulfill orders — image first, size second.
- 1
Upload the largest original
Don't start from a mockup or Instagram download.
- 2
Pin the subject
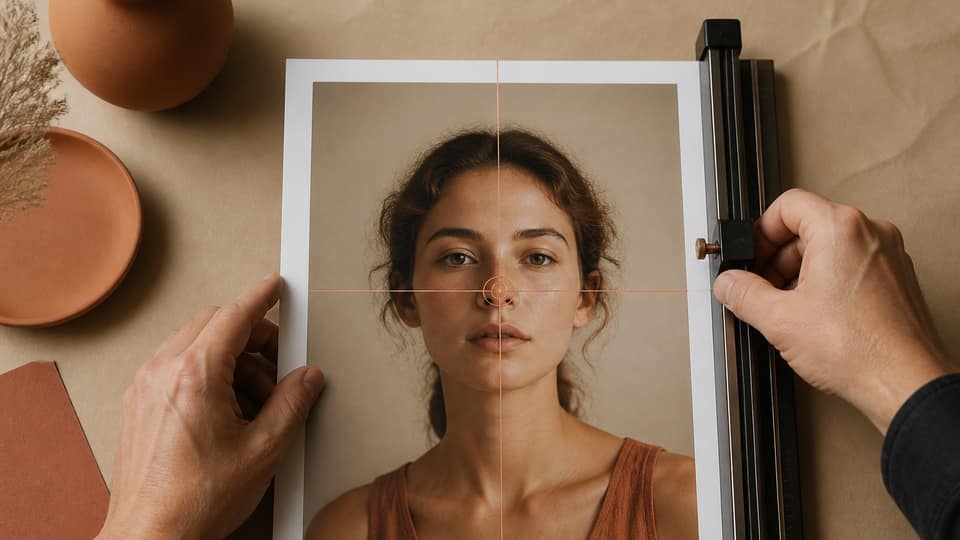
One focal point covers every ratio.
- 3
Add every SKU as a custom size
Inches or millimetres, including odd frames like 11×14.
- 4
Export once to ZIP
Folders per artwork, then per ratio, one format, 300 DPI.
Don't reopen Photoshop for every size
Actions and droplets work fine when every photo is already centered — and fall apart the moment a portrait sits off-center. Set the subject once. Add 8×10, 12×18, 16×20, and 11×14 as custom ratios. Export once, and you're done.
Reopic Pro packs everything into a ZIP with a folder per artwork name, then a folder per ratio inside — the layout shops and VA teams can drop straight into Drive without renaming anything. Free covers one image a day; $33 lifetime removes the cap entirely.
A folder layout worth copying
Name folders after the artwork, not "final_v7." Inside each artwork folder, use the physical size as the folder name — 8x10in, 210x297mm. And stick to one file format per export, so you're not mixing a JPG and a PNG the shop never asked for.
When two files share a name, Reopic adds a suffix automatically, so print.png and print.png don't overwrite each other. That matters more than it sounds like once a whole session lands in one ZIP.
| Folder | Contains | Pixels (portrait, 300 DPI) |
|---|---|---|
| mountain-lake/8x10in/ | one 4:5 file | 2400 × 3000 |
| mountain-lake/12x18in/ | one 2:3 file | 3600 × 5400 |
| mountain-lake/16x20in/ | one 4:5 file | 4800 × 6000 |
Batching across many paintings at once
Pro lets you work with several source images in one studio session. Pin each painting, apply the same ratio list, and export — you'll get one ZIP with a separate image folder for each painting. That's the difference between a catalog update that takes an afternoon and one that eats a whole week.
Free users can still learn the workflow using one image and three ratios a day. Swap the image out tomorrow, or upgrade once you actually have a drop to ship.
Quality control before you upload
Spot-check your tightest crop — usually the 4:5 — for chopped signatures. Spot-check the tallest crop — usually 2:3 or A4 — for too much empty ceiling. Then open the file properties and confirm 300 DPI against the numbers in the 300 DPI guide.
Only then upload to Printful, Gooten, or your press, matching each SKU's own template rather than reusing a generic 8×10 across the board.
A catalog drop, done in one afternoon
Write your ratio list once — every size you actually sell, in the unit the listing uses. Load painting one, pin it, export. Load painting two, same ratios, pin, export. Keep a spreadsheet mapping artwork filename to Etsy listing ID, so a VA can match ZIP folders to SKUs without a round of Slack screenshots.
When a new size comes along — say you add 11×14 — you're not starting composition from scratch. Reopen the original, re-place the pin if you kept the habit of anchoring it on the same feature, add 11×14, and export straight into the existing artwork folder. Tools that only offer 4:5 will force you to invent a wrong 11×14 every single time.
What not to batch
Don't batch-upscale a folder of Instagram downloads. The resulting ZIP will look organized and still print soft. Batching is for originals that already have the pixels to spare.
Don't mix canvas-wrap files with paper-trim files in the same ratio folder — wrap needs extra inches. Keep a separate canvas/ subfolder, or export straight from the template's pixel box in the Printful prep guide.
And don't batch-convert HEIC to JPG at 72 DPI in some random phone app, then "resize" those JPEGs afterward. Start from the camera original or a full-size Lightroom export — no ZIP can recover detail the earlier conversion already threw away.
FAQ: batch resize art prints
Can I batch-resize print files for free?+
Reopic's free plan covers 1 source image and 3 custom ratios per day in the browser. Unlimited batch ZIP is a Pro feature at $33 lifetime.
Should the ZIP be organized by size or by image?+
By image first, then size. Fulfillment pulls together one painting's SKUs at a time — folders organized by size first end up mixing different artwork in the same 8×10 bucket.
Can I include JPG and PNG in the same batch?+
Pick whichever format each shop needs. Mixing formats in one ZIP is an easy way to create upload mistakes — export again separately if a partner wants PNG only for type-heavy SKUs.
Do I need a different focal point per size?+
Usually not. One pin covers many rectangles. If a particular ratio can't include the pin at all, it's simpler to drop that SKU for that artwork.