Print files
How to Crop a Photo Without Cutting the Subject (Focal Point Method)
Center crop is why faces vanish on 8×10 listings. Lock a focal point once, then let each print ratio grow around it so the subject survives every size you sell.
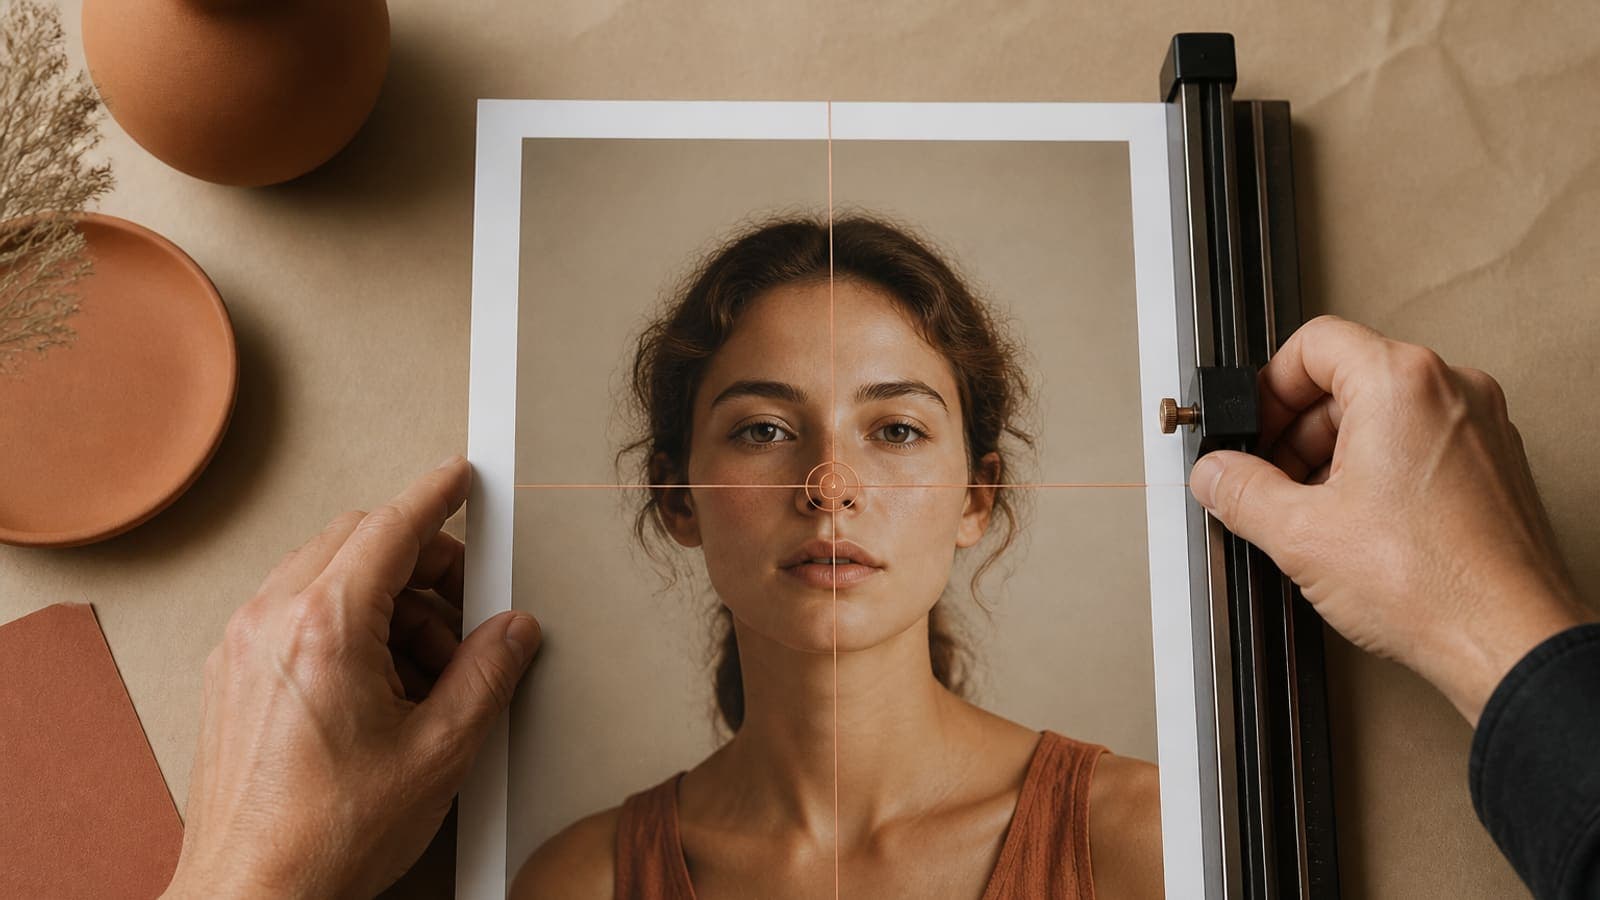
Direct answer
To crop a photo without cutting the subject, mark one focal point — an eye, a logo, a horizon — and build each print rectangle around that point instead of the photo's geometric center. The crop grows outward until it hits the nearest image edge at the target aspect ratio, then you resize that crop to print pixels at 300 DPI. Repeat for 8×10, 11×14, 12×18, and any other ratio you sell, all from the same pin.
Automated “fit to 8×10” tools grab the middle rectangle by default. Portraits with headroom lose hair. Product shots lose the label sitting near the edge. Signatures at the bottom vanish entirely. Buyers don't care that the algorithm was technically centered — they care that the face is missing.
Print artists who compose off-center on purpose — rule of thirds, negative space — get punished hardest by center crop. The fix is simple: decide what the print is actually about, then crop around that decision for every SKU, instead of re-deciding each time.
- 1
Choose the subject pixel
An eye, product label, or horizon line that must appear in every print.
- 2
Add each listing ratio
8×10, 11×14, 12×18, A4, or whatever you sell.
- 3
Grow the crop around the pin
Stop at the photo edges. Do not invent pixels outside the file.
- 4
Export each ratio at 300 DPI
Separate files per size so shops receive the correct rectangle.
Why center crop fails
Every aspect ratio is a different window on the same photo. 4:5 (8×10, 16×20) is boxier. 2:3 (12×18) is taller. 11×14 sits in between. A centered window only works when the subject is already in the middle and you have even margin on all sides.
Wedding painters, pet portraits, and product photography almost never have even margin. The subject is where the light was. Center crop ignores that.
Put the subject in the middle of the print
Click the point that must survive every size — an eye, a logo, a horizon. The crop should keep that point as close to center as the photo edges allow, then resize to the print pixels.
When the pin is near an edge, the rectangle cannot stay perfectly centered. That is correct. Better an off-center composition than a chopped ear. If a ratio cannot include the pin without going outside the photo, that ratio is not honest for this file — do not list it.
One pin, many ratios
The value of a focal point is reuse. You do not re-decide the subject for 5×7, 8×10, and 12×18. You add custom ratios and export each window from the same pin.
In Reopic Studio that click happens on the same box you uploaded to. Export Artwork then uses that pin for every custom ratio you added. Open Studio and try it on one portrait before you batch a catalog.
When you should not crop
Some originals are already the listing ratio. Cropping again only throws away resolution. Check the aspect ratio first. If it matches 8×10 (4:5) and the subject is already placed, just resize to 2400×3000.
Panoramas and extreme 16:9 video stills cannot fill a 4:5 frame without destroying the scene. Sell a panoramic SKU or mat the print. Do not force a poster ratio.
Worked example: off-center portrait to 8×10 and 12×18
The face sits on the right third with empty wall on the left. A center 4:5 crop takes the wall and cuts the ear. Pin the near eye. The 8×10 window shifts right until the pin is as centered as the right edge allows. You will keep more wall on the left than a “balanced” photographer might like — that is still better than a missing ear.
The 12×18 (2:3) window is taller. From the same pin it may pick up ceiling and torso. Check the feet and the hairline. If 12×18 includes a cluttered floor you hate, either tidy the original, clone in Photoshop, or do not list 12×18 for that painting.
Export both. Name files with the size. Your mockup set should use those two files, not one JPEG squeezed into both frames. 12×18 vs 16×20 is the same idea with different inches.
Signatures, still life, and product shots
If the print is “about” a signature or a label, that is the pin — not the largest face in the scene. Product photographers should pin the brand mark. Painters who sign bottom-right should glance at every ratio: 4:5 often eats the bottom. Raise the pin slightly or leave more canvas under the signature when you shoot.
Still life with a vertical bottle and a wide table needs two listings or a mat. No focal-point method will make a 2:3 bottle fill a 1:1 tile without empty wood. Honest SKUs beat clever crops.
Check every ratio at 100% on screen before you upload. Look at the corners. Print shops do not crop again to “fix” your composition — they image the rectangle you sent. If a corner is a tripod leg, either clone it or drop that size.
FAQ: focal point crop print
What is a focal point crop?+
A crop that keeps a chosen pixel as close to the center of each print rectangle as the photo's edges allow, rather than always defaulting to the geometric center of the full image.
Why does 8x10 cut off my subject?+
8×10 is a 4:5 ratio, but most photos come out of the camera at 3:2 or 4:3. A center crop removes whatever's leftover on the longest edges — usually hair, feet, or a signature.
Can I use the same crop for 12x18 and 16x20?+
No — they're different ratios (2:3 vs 4:5), so one crop can't honestly serve both. Use a single focal point but two separate crops. See [12×18 vs 16×20](/blog/12x18-vs-16x20-etsy-print-size) for the full breakdown.
Does Reopic auto-detect faces?+
No. You click the pin. That is intentional — artists often want a product or a brushstroke, not the largest detected face.