Print files
How to Keep Resolution When Cropping Photos for Print
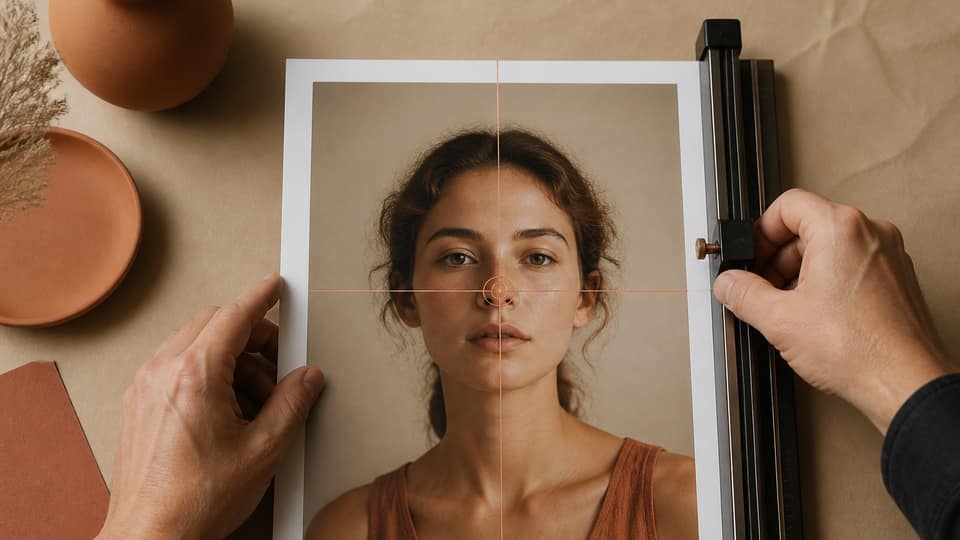
Cropping throws away pixels. Keep your resolution by starting from the largest original, cropping around a focal point first, and only downscaling afterward to inches × 300.
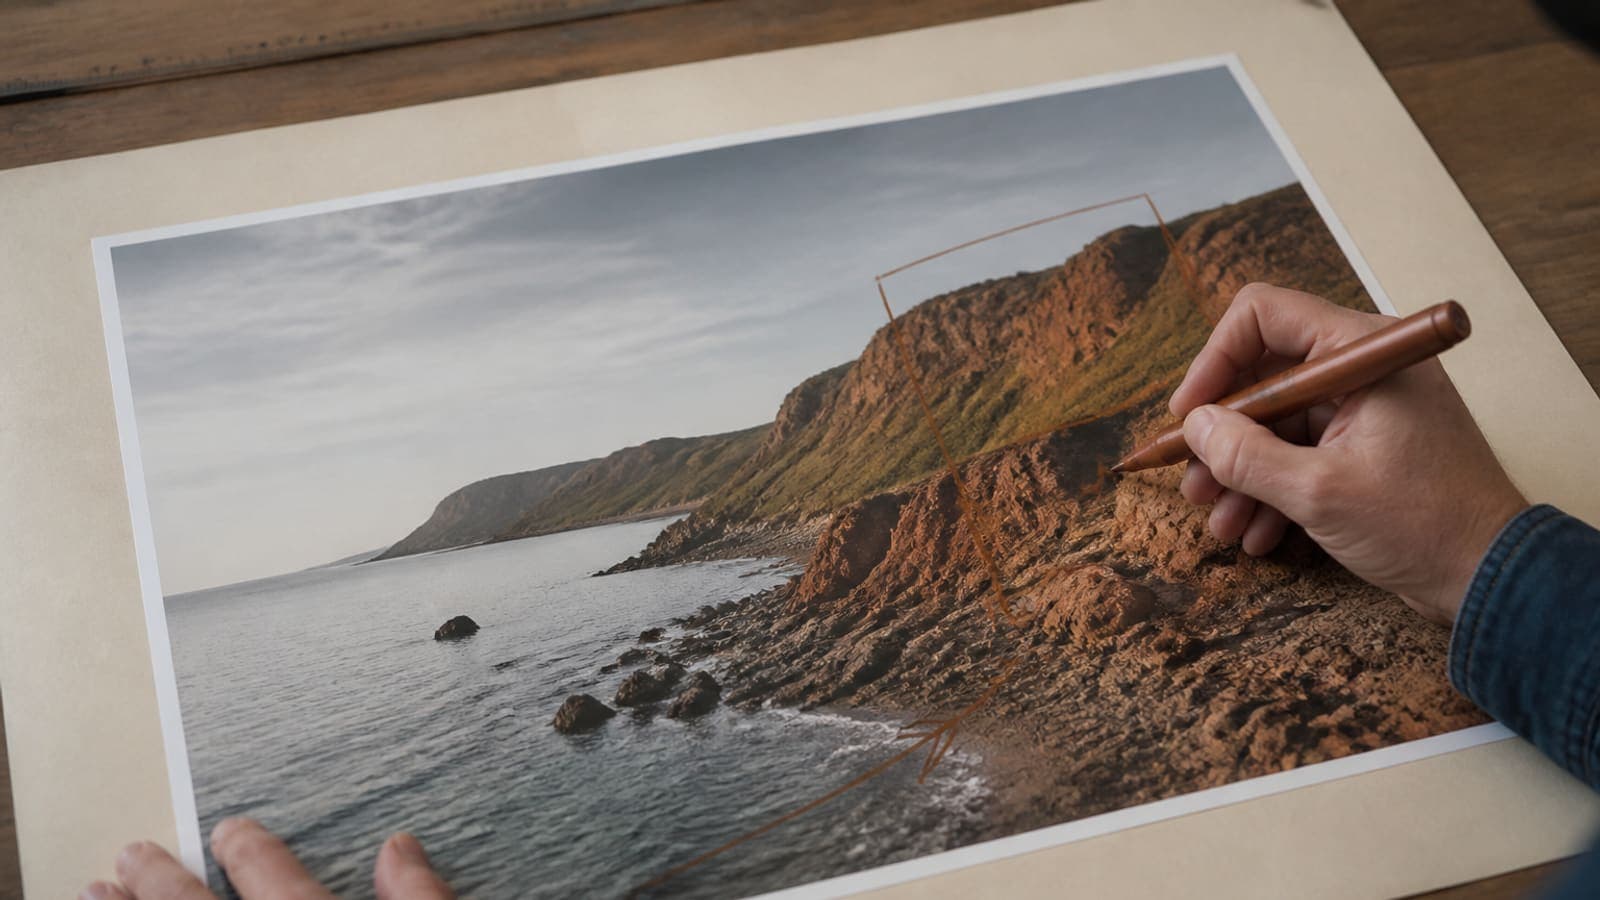
Direct answer
To keep resolution when cropping for print, crop your full-size original to the listing’s ratio first, then check that the shorter side has at least inches × 300 pixels left over. Don’t shrink the photo down to 8×10 and crop after, and don’t upscale after a heavy crop. Pin the subject once so you’re not going back for a second “fix” crop.
People crop in Instagram, then crop again in Photoshop, then try to “increase the DPI.” Every one of those steps throws away information the print shop can never get back. They only ever see your last leftover rectangle.
The order that actually preserves quality: original → one crop → one downscale → 300 DPI tag. That’s the entire workflow.
- 1
Open the largest original
Not a listing mockup or a resized copy.
- 2
Crop once, around a pin
Skip the second “fix” crop entirely.
- 3
Check leftover pixels
Short side needs to be ≥ inches × 300.
- 4
Downscale and tag 300 DPI
Never upscale just to hit the table.
Why cropping reduces your resolution
A 4000×3000 photo has 12 million pixels. A tight 4:5 crop might leave you with 3000×3750 (11.25 million) — or, if you’d already resized down to 1920 pixels wide, just 1536×1920 (3 million). That second path can’t produce a sharp 11×14 (3300×4200).
A center crop often forces a second crop once you notice an ear got cut off. That’s two rounds of pixel loss instead of one. A focal-point crop is one decision, made once.
The leftover-pixel test
After you crop, divide the short side by 300. Want an 8×10? You need at least 2400 pixels. Want a 16×20? You need at least 4800. If you fail the test, sell a smaller size instead. Resizing without losing quality means you only ever shrink, never invent pixels that were never there.
| Short side at 300 DPI | |
|---|---|
| 5 × 7 in | 1500 px |
| 8 × 10 in | 2400 px |
| 11 × 14 in | 3300 px |
| 16 × 20 in | 4800 px |
Don’t sharpen, then crop, then sharpen again
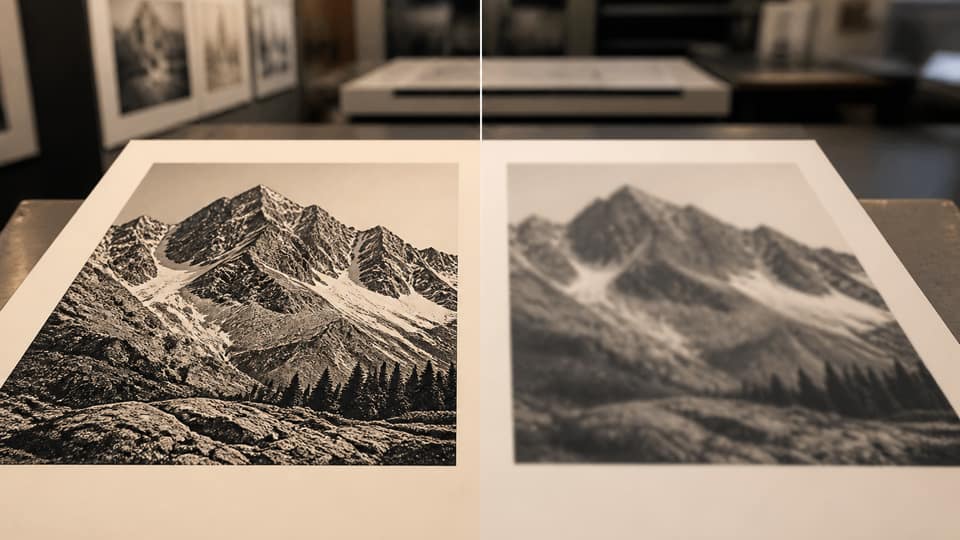
Sharpening before you crop exaggerates grain that then gets enlarged along with everything else. Crop first, resize down to your print pixels, then apply one light print-specific sharpen. Social media exports that were already oversharpened tend to look crunchy on paper.
One pin, many sizes, one original file
Open Studio on the original camera file, pin the subject once, and export each size from there. Don’t recrop a previous 8×10 JPEG down into a 5×7 — that nested crop is exactly how resolution disappears. The free plan tests three sizes a day; Pro is $33 lifetime for full catalogs.
FAQ: keep resolution when cropping for print
Does cropping lower DPI?+
Cropping lowers your pixel count. DPI is pixels divided by inches, so fewer leftover pixels means fewer inches at 300 DPI.
Should I crop before or after resizing?+
Crop first, on the full-size original, then resize down to your final print pixel dimensions.
Can I crop an 8x10 file into a 5x7 without losing quality?+
You’ll lose some pixels either way, but 5×7 only needs 1500×2100, so an 8×10 file (2400×3000) still has plenty left over, as long as the 5:7 window fits your subject.
Why does my cropped print look softer than the original looked on screen?+
Usually because you viewed the original smaller on a backlit screen, upscaled after cropping, or the original was already a bit soft to begin with.