Print files
How to Resize an Image Without Losing Quality for Print
You keep quality by never asking for more pixels than the original has. Crop first, downscale to inches × 300, export high-quality JPEG or PNG, and never upscale a thumbnail.
Direct answer
To resize for print without losing quality, start from the largest original you have, crop to your print’s ratio, then downscale to the exact print pixel dimensions (inches × 300 at 300 DPI). Use a good resampler and high JPEG quality, or PNG for type. You can’t enlarge a 1200-pixel image up to 16×20 without visible quality loss — if your leftover pixels come up short, sell a smaller print instead.
“Without losing quality” is usually a search for a miracle upscaler that doesn’t exist. The honest answer is a smaller print size or a better original file. Everything else is damage control.
When the original has enough pixels to begin with, quality loss becomes optional. It comes from JPEG quality 40, saving the same file over and over, sharpening twice, or stretching the wrong ratio.
- 1
Measure leftover pixels after cropping
Short side needs to be ≥ inches × 300.
- 2
Downscale with a quality resampler
Never nearest-neighbor for photographs.
- 3
Save as high-quality JPG or PNG
sRGB covers most Etsy POD partners.
- 4
Write 300 DPI into the file
Make sure the label actually matches the pixels.
Downscaling is fine. Upscaling a paid print isn’t.
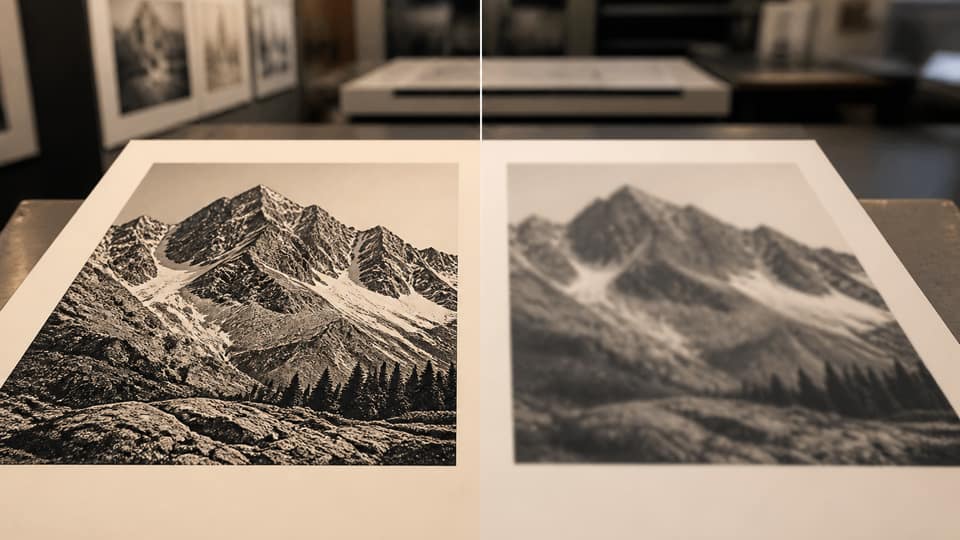
Downscale a 6000-pixel crop to 2400×3000 for an 8×10, and it should look excellent. Stretch a 1200-pixel crop up to that same 2400×3000, and it won’t. 72 vs 300 DPI is usually this exact mistake wearing a metadata disguise.
Use a decent resampler
Bicubic Sharper or Lanczos both work well for downscaling. Avoid nearest-neighbor except for pixel art. Browser-based tools, including Reopic, use high-quality resampling automatically on export — just don’t screenshot your canvas and call that your export.
Format and color still matter
Photographs export best as high-quality JPG in sRGB. Type-heavy graphics do better as PNG. See sRGB vs CMYK for the color side of this. Quality 90 beats a tiny file that emails easily but prints with mosquito artifacts around every letter.
The practical path
Open Studio, pin the subject, add your real inches, and export. If the preview looks soft, the original is too small — change the print size, not the DPI number. Free covers 1 image and 3 ratios; Pro is $33 lifetime.
FAQ: resize image without losing quality print
Is there a way to enlarge an image without losing quality?+
Not for real photographic detail. AI upscalers hallucinate texture that was never there. For a paid print, use a larger original or sell a smaller size instead.
Does changing the DPI number without resampling preserve quality?+
It preserves the pixel count, but it doesn’t turn a 4-inch file into a 16-inch print. The inches shown in your app will change; the actual detail won’t.
Why did my downscaled print still come out looking bad?+
The original was probably soft, noisy, or overcompressed to begin with, or you cropped hard enough that you ended up needing to upscale again anyway.
Should I resize in several small steps instead of one?+
One downscale straight to the target pixel count is enough. Resizing in many tiny steps is an old myth, and it just adds extra JPEG risk.