Print files
How to Resize an iPhone Photo for Print at 300 DPI
Export the original Camera Roll file, not a Messages screenshot, crop it to your print ratio, then size it at inches × 300. Most iPhones handle 8×10 easily.
Direct answer
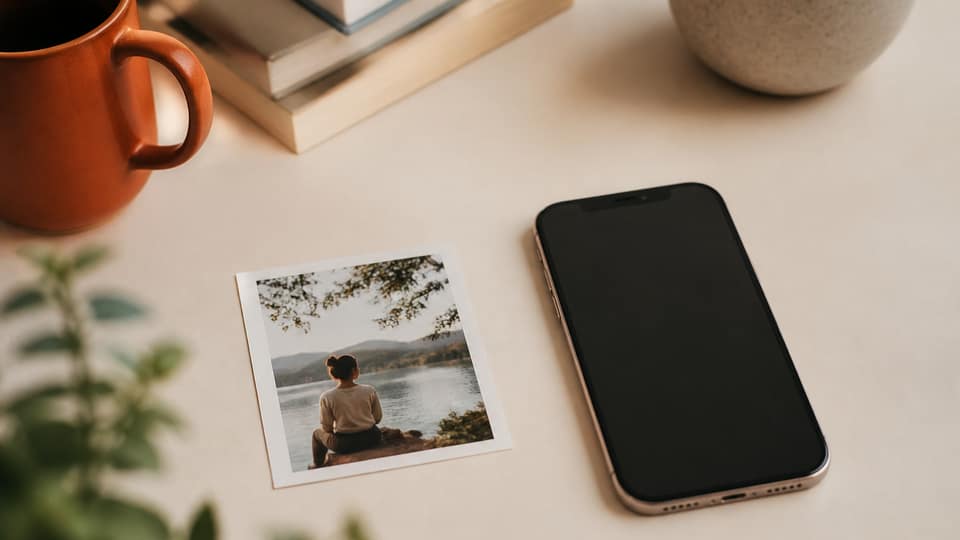
To resize an iPhone photo for a 300 DPI print, start from the original Camera Roll file (HEIC or full-size JPEG) rather than a shared or downloaded copy. Crop it to your print's aspect ratio around the subject, then set the pixel dimensions to width-in-inches × 300 by height-in-inches × 300. Skip screenshots, AirDrop previews, and Instagram downloads — they're all compressed. A 12 MP iPhone photo can usually fill an 8×10 (2400×3000); a 16×20 needs more leftover pixels than most crops keep.
iPhones capture plenty of pixels. People still hand print shops a 1200-pixel WhatsApp forward, because that's what they long-pressed and saved. The camera isn't the bottleneck — the export path is.
HEIC works perfectly fine as a source file. Some print labs still want a JPG at the end, though, so convert after cropping, at high quality, with a 300 DPI tag attached.
- 1
Transfer the Camera Roll original
Not a screenshot or chat preview.
- 2
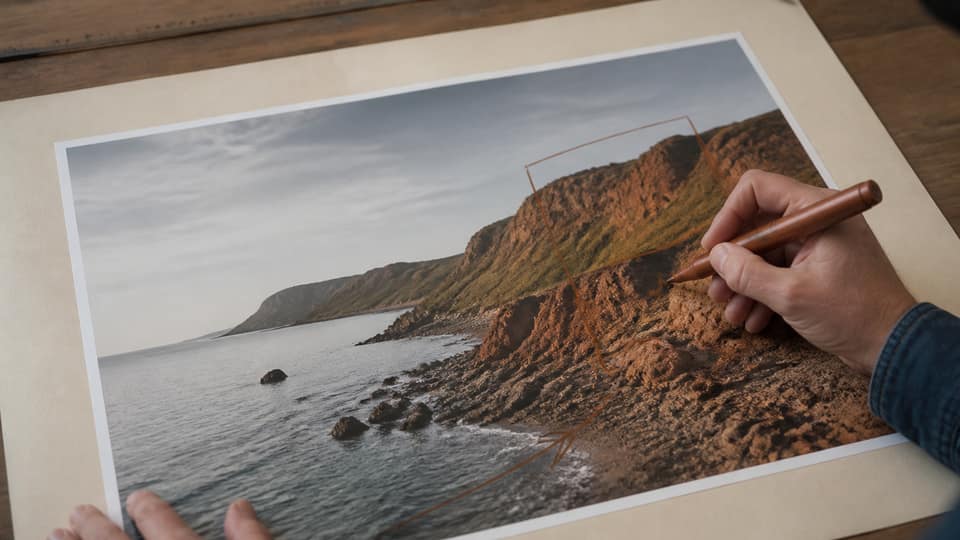
Pin the subject and crop to your listing ratio
4:5 for 8×10, 11:14 for 11×14, and so on.
- 3
Resize to inches × 300
Don't upscale if the crop is already smaller than that.
- 4
Save as high-quality JPG with a 300 DPI tag
Use sRGB for Etsy print-on-demand.
Get the real file off the phone
In Photos, open the image, tap Share, and send the actual photo — not a screen recording, not a screenshot of the photo. On a Mac, Photos or Image Capture will pull the full-size original. If iCloud's 'Optimize iPhone Storage' is turned on, the full file may still need to download first — wait for it before you crop.
Messages and Mail both tend to downsample on the way out. AirDrop keeps more detail. For a client portrait you're printing as an 11×14, a Lightning or USB cable straight to a computer is the safest route.
What an iPhone can actually print
A 12 MP 4:3 photo is roughly 4032×3024. Crop that to 4:5 and you're left with around 3024×3780 — enough for a clean 8×10, and usually 11×14 too. Crop to 2:3 instead and you'll keep about 3024×4536, good for 12×18 if those numbers survive the crop. A 16×20, which needs 4800 pixels on the short side, is a stretch for most 12 MP shots.
48 MP modes only help if you actually export that file — not the 'most compatible' 12 MP version the Camera app defaults to sharing. Check the real pixel dimensions on a computer before listing anything as large as 20×30.
| After crop (approx.) | Honest 300 DPI size |
|---|---|
| ~2400 short side | Up to 8×10 |
| ~3300 short side | Up to 11×14 |
| ~3600 short side | Up to 12×18 (2:3) |
| Under 2400 | 5×7, or a digital download with an inch cap |
Crop first, resize second — never the reverse
Resizing straight to 2400×3000 from a 4:3 original squashes the image. Crop to 4:5 around your focal point first, then scale that already-correct rectangle down to 2400×3000.
Open Studio right in your phone's browser, or on a laptop — drop in the original, pin the face, and enter the inches you're selling. Files never leave the device. Free plan: 1 image and 3 ratios a day.
Portrait mode, HDR, and sharpness
Portrait mode's background blur is baked permanently into the file. It'll print exactly as shot — fine on a studio-style 5×7, but a blurred ear can turn into an obvious smear at 16×20. Zoom to 100% before listing anything large.
iOS also tends to over-sharpen on export, which shows up as halos on paper. Export a natural, unsharpened file, then apply light sharpening after resizing for print — not before.
FAQ: resize iPhone photo for print 300 DPI
Can I print an iPhone photo at 8x10?+
Usually yes, from the original 12 MP file after a 4:5 crop. Use the Camera Roll original, not a Messages copy.
Should I convert HEIC before cropping?+
Crop from the original HEIC first, then export as JPG at the end if your print shop requires it.
Why does my iPhone print look soft?+
You likely sent a compressed share file, cropped from the center instead of the original, or listed a size larger than your leftover pixels support.
Does Live Photo improve print resolution?+
No. Use the still key photo at full size — Live Photo doesn't add any extra print-ready pixels.